Hello there, it is Verity here from Pretty Little Button for the Bumbleberry Design team. I love to add texture to my cards, and the embossing paste from Altenew is perfect for doing just that. It is a lovely lightweight paste that doesn't add to much bulk to your cards and is easy to colour or use as is for its brilliant white colour. Today, I'm using the paste with distress oxides to create a textured unisex birthday card, but you can easily swap and change the colours up depending on the recipient or the occasion. The simple design of the card lends it to be the perfect unisex card and with the bold sentiment, it adds a modern twist. But you can think more out of the box and try this with a whole range of stencils for any occasion, though I'm keeping it simple for today to show you the technique.
Textured unisex birthday card Video tutorial:
Written and photos Textured unisex birthday card:
Create a mask using Inkadinkadoo masking paper, and trimming a sheet down to the size of the card panel which measures at 5.25" by 4. Next, die cut a rectangle from the middle of the masking sheet and using the negative frame position onto the card to create a border to the textured background without adding another layer, framing the background.

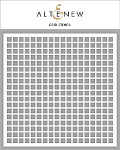
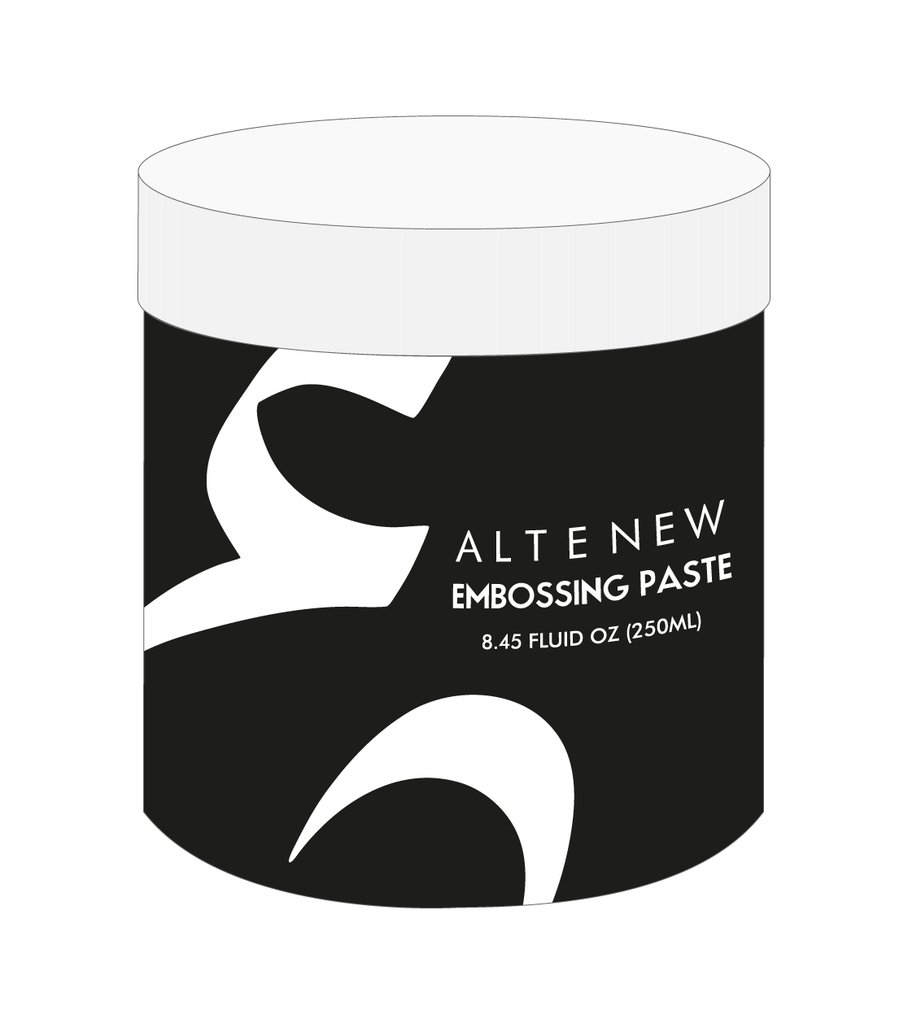
Using washi tape on the back of the card panel made out of Gina K Soft stone cardstock, adhere Altenew Grid stencil down. For the embossing paste, use a palette to apply small dabs of the paste onto a glass craft mat three times in order to create three colours for an Ombre look.

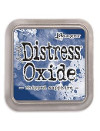
To colour the paste, smooshed Tumbled glass distress oxide next to the paste, along with Blueprint Sketch and Chipped Saphhire next to the other dabs of paste. To colour the paste, use a palette knife to work the paste into the ink. The more ink you use, the more intense in colour the paste will become. Apply each colour from light to dark to create the ombre look.

You may find, you want to go back between the colours to blend and transition the colours with one another. When the background is completely filled, remove the stencil straight away and wash with water as well as the spatulas.

Leave the background was left to dry and once dry, add more interest using the Altenew 36 pan watercolour set to add some black paint splatter and again leave this to dry.

For the sentiment, cut the word happy using the Altenew Fine Alphabet dies out of black card and black fun foam. The card die cuts were adhered to the fun foam die cuts using Gina K Connect glue to give dimension to the sentiment. Again, use Gina K connect glue to adhere these directly to the background - you need a strong adhesive on this textured surface.

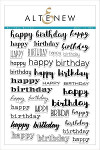
A stamped sentiment from the Altenew Birthday Builder stamp set was added to the front and finished off with a few black Nuvo drops from Tonic Studios. For a little shine, apply some Glossy accents to the Happy sentiment.
Shopping list for Textured unisex birthday card:
Links to supplies at Bumbleberry Papercrafts Shop:
 Gina K Designs - Connect Glue Shop at: BP |
 Neenah Classic Crest Solar White 110lb Cardstock Shop at: BP |
 Soft Stone Heavy Weight Cardstock - Gina K Designs Shop at: BP |
 Original MISTI - My Sweet Petunia Shop at: BP |
 Chipped Saphire Distress Oxide - Ranger Ink Shop at: BP |
 Birthday Builder - Altenew Shop at: BP |
 Blueprint Sketch Distress Oxide - Ranger Ink Shop at: BP |
 Grid Stencil - Altenew Shop at: BP |
 Embossing Paste - Altenew Shop at: BP |
 Fine Alphabet Dies - Altenew Shop at: BP |
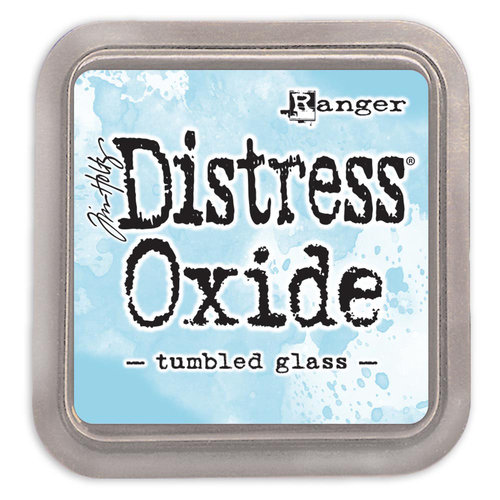 Tumbled Glass Distress Oxide - Ranger Ink Shop at: BP |
If you enjoyed this post and create a card like this, make sure you share it in the Bumbleberry Craft Room on Facebook for us to check it out!
Until next time!
Verity
