This card was so easy to make and really enjoyable.

- Stamp out the little steps using the long happy birthday stamp onto a piece of watercolor card. I've used a piece larger than the finished card as I didn't know where my design would take me. I ended up chopping off the last step and trimming down my panel later on.
- Now add your main stacked stamp, carefully aligning it. I've added two tags and little sentiments to go inside them on the presents.

- Use a black fineliner and add a thick line to join your sentiment steps.
- Color in your stamped image with any water-based markers and paints. I've used Chromatek Brush Markers. Allow to dry completely.
- Trim down panel to size. I've cut off the last step and the panel is cut to 4 inches by 5.75 inches.
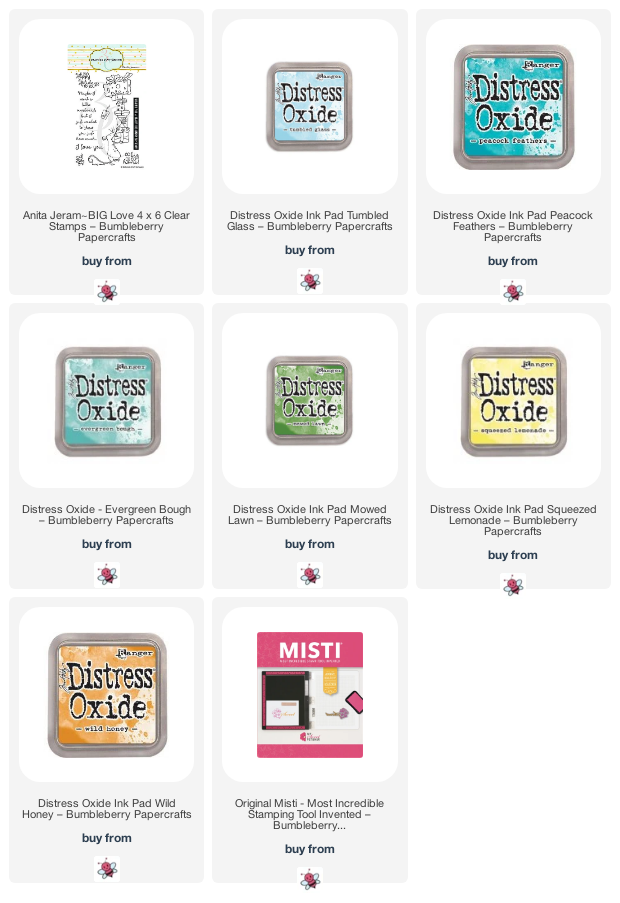
- Use Distress Oxides to create a simple background. Squeezed Lemonade and Wild Honey; Tumbled Glass and Peacock Feathers; and Mowed Lawn and Evergreen Bough.
- Add the, 'go big or go home' sentiment.
- Mount panel onto an A6 (US) size card, 4.5 inches by 6.25 inches and add a few sequins.

Isn't it the cutest! Initially this was going to be an evening time card with the yellow light coming from inside a house and the background would have been a night sky, but changed my mind after I'd colored the presents.

His little feet and that face are just so cute!

Thanks for visiting today and all the materials I've used are listed below in the Bumbleberry's Shop!
Have a great rest of the week! ~kittenmoose