Well Hello Crafty Friends,
With only 20 days left, we are all getting ready for Christmas.
I am loving the stencil trend right now. I find them so brilliant for backgrounds. So its back to my Christmas series with Honey Bee Stamps.
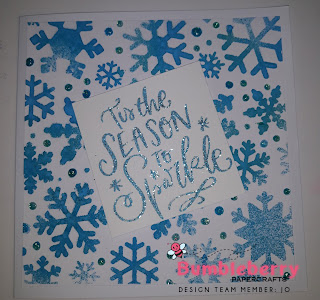
TECHNIQUE ONE
Distress Spray
Products
Honey Bee Stamps Season To Sparkle
Honey Bee Stencil (Snow Fall)
Distress Oxide Sprays in Peacock Feathers and Mermaid Lagoon
5.5" x 5.5" Piece of Neenah Cardstock
6" Squared Card Blank
Wow Embossing Power (Totally Teal)
Nuvo Glitter drops (Blue Lagoon)
Ranger Splat Box
Method
This is the quickest and easiest of the three techniques.
Take your piece of neenah cardstock attach the snowfall stencil, with some purple tape or similar.
Then using a splat box or cardboard box start with the lightest colour and spray as fine mist as you can over your card and stencil.
Remove gently and leave to dry, then stamp and emboss your sentiment, in wow powder or powder of your choice.
When dry attach snow flake background to card black mount your sentiment and add it to the card. finally finish with nuvo drops.
TECHNIQUE TWO
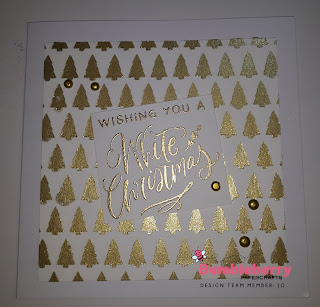
Glacier Paste
Products
Honey Bee Stamps Season To Sparkle
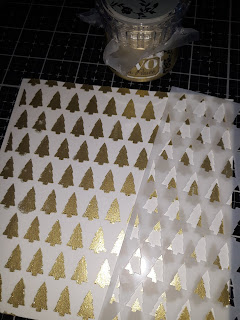
Honey Bee Stamps Stencil ( Mini Pines)
5.5" x 5.5" Piece of Neenah Cardstock
6" Squared Card Blank
Nuvo Glacier Paste Golden Era
Nuvo drops in Light Gold
Gold Detail Embossing Powder
Method
Do exactly the same with the piece of neenah cardstock and stencil.
Then using the Glacier Paste spread an even coat over the stencil, then remove and leave to dry.
My personal favorite.
TECHNIQUE THREE
Dry Embossing
Products
Honey Bee Stamps Season To Sparkle
Honey Bee Stencil (Snow Fall)
Die cutting Machine
Embossing Mat
5.5" x 5.5" Piece of Neenah Cardstock
6" Squared Card Blank
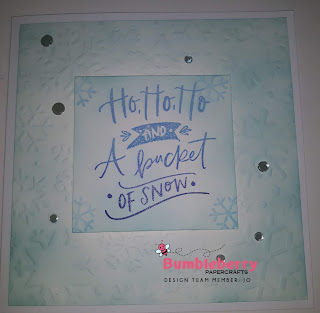
Light Blue Ink Pad and Blender Brush
This time set up your die cutting machines correct sandwich, for embossing.
Instead of a die you use the stencil to emboss the pattern in to your cardstock.
I have only ever used a embossing mat, and I find it gives amazing results.
When you have done this gently go over with a blue ink and a blender brush to add a little definition to your embossed background.
Stamp and emboss your sentiment and attach as above.
I hope ive have inspired you to try something different with your stencils. They really are a wonderful tool to create with.
Happy Stamping
Jo Summers
love the off centred sentiment